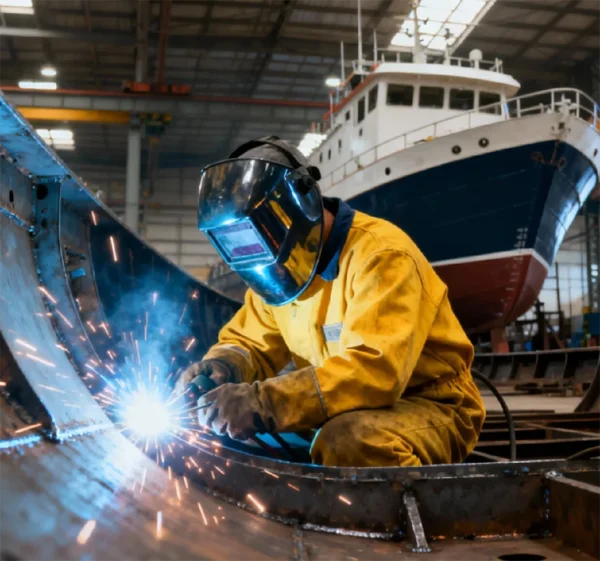

A quality auto-darkening welding helmet switches from light to dark in roughly 0.1 milliseconds — about ten times faster than the human blink reflex — while a passive helmet stays permanently dark and relies on the welder flipping the shell into place before every arc strike. That single difference in reaction time drives the cost, the workflow, and the training outcome of the whole shop.
(Last modified date: October 2, 2026)
Key Takeaways
- Auto-darkening (ADF) lenses react in about 0.1 ms on quality models; entry-level cartridges typically stay under 1 ms.
- Passive helmets win on purchase price and simplicity; ADF helmets win on workflow, weld starts, and neck strain.
- Shade depends on the process and the amperage, not on the process alone — check the chart for the current you actually run.
- Optical class matters as much as reaction speed — specify EN 379 optical class, not just the switching time.
- The payback on an ADF helmet is a calculation, not a slogan: it turns on weld-start frequency and your loaded labour rate.
What Actually Separates the Two Helmet Types?
An auto-darkening helmet keeps its lens clear in standby and darkens the instant the arc starts; a passive helmet carries a permanently dark lens that the welder must flip into position before striking. Both block the harmful radiation, so the choice is not about safety on paper — it is about which workflow you are willing to run.
The passive helmet is the classic design: the welder sets the shell down over the face, strikes the arc, then flips it up to inspect the weld. The auto-darkening helmet removes that motion entirely. The welder positions the helmet in place, strikes the arc, and the lens switches from light to dark on its own. Both hands stay free, the arc can be started without guessing the joint position blind, and the neck avoids the constant up-and-down motion that fatigues welders across a shift.
| Feature | Passive | Auto-darkening |
|---|---|---|
| Lens state | Always dark | Light until arc strikes |
| Workflow | Flip down before arc | Position, strike, weld |
| Hands | One hand often busy | Both hands free |
| Neck strain | More flip motion | Less |
| Entry cost | Very low | Moderate |
| Best for | Budget, simple tasks | Training, production, quality work |
How Fast Do Auto-Darkening Lenses React?
The best cartridges switch in about 0.1 milliseconds, and even entry-level ADF helmets usually manage under one millisecond. The human blink reflex is far slower, which is exactly why an unshielded arc can injure the eye before the welder reacts.
Reaction speed is the headline spec, but it is not the only one that decides whether a welder finishes the day without headaches. Standards such as EN 379 grade the cartridge on optical class — how much the view distorts at the edges, how evenly the shade sits across the viewing area, and how consistently the lens darkens from centre to edge. A cheap cartridge with a fast switching time but a poor optical class will still cause eye strain and colour distortion over a full shift.
When you compare models, ask for the reaction time, the optical class, and the shade accuracy together. A fast lens on paper that sits at a low optical class is a false economy for anyone welding more than an hour a day.
Which Helmet Suits Which Welder?
Auto-darkening helmets are generally the better starting point for learners and production welders; passive helmets remain a legitimate low-cost option for occasional work. For a beginner, the hardest part is starting a clean weld — with a passive shell down, the work area is dark and positioning becomes guesswork.
Process matters just as much as experience level. TIG welders, who start arcs gently and watch a bright molten pool, benefit most from a fast, sensitive lens with a light shade range. Stick and MIG welders work at higher current and need deeper shades plus a lens that triggers reliably on the first spark. Multi-process shops are usually better served by one model whose shade, sensitivity, and delay ranges cover every process in the building — that simplifies both training and spares inventory.
On cost, the honest picture is that a passive helmet is cheaper to buy and an auto-darkening helmet is cheaper to run. Passive helmets need lenses and shells; ADF helmets add a battery and a cartridge to that list. What differs is the time: a passive helmet forces a flip-and-position motion before every arc, while an ADF helmet lets the welder position, strike, and inspect without moving the shell. Add replacement lenses and batteries as running costs, and confirm that parts stay available for the models you standardise on.
A worked example — replace every assumption with your own numbers before you use it. Assume a welder makes 40 weld starts a shift and that each passive-helmet reposition costs 8 seconds of vision time and setup. That is 320 seconds, or about 5.3 minutes, per shift. Across 250 shifts a year it is roughly 22 hours of repositioning time per welder. At a loaded labour rate of $45 an hour, that time is worth about $1,000 a year — which is the scale on which an ADF helmet pays for itself. Change the wage rate to $25 and the figure drops to about $560; halve the weld-start count and it halves again. The rework avoided by better weld starts is a further saving that this model deliberately leaves out, because it varies too much between shops to estimate generically. Run the arithmetic on your own shift pattern.
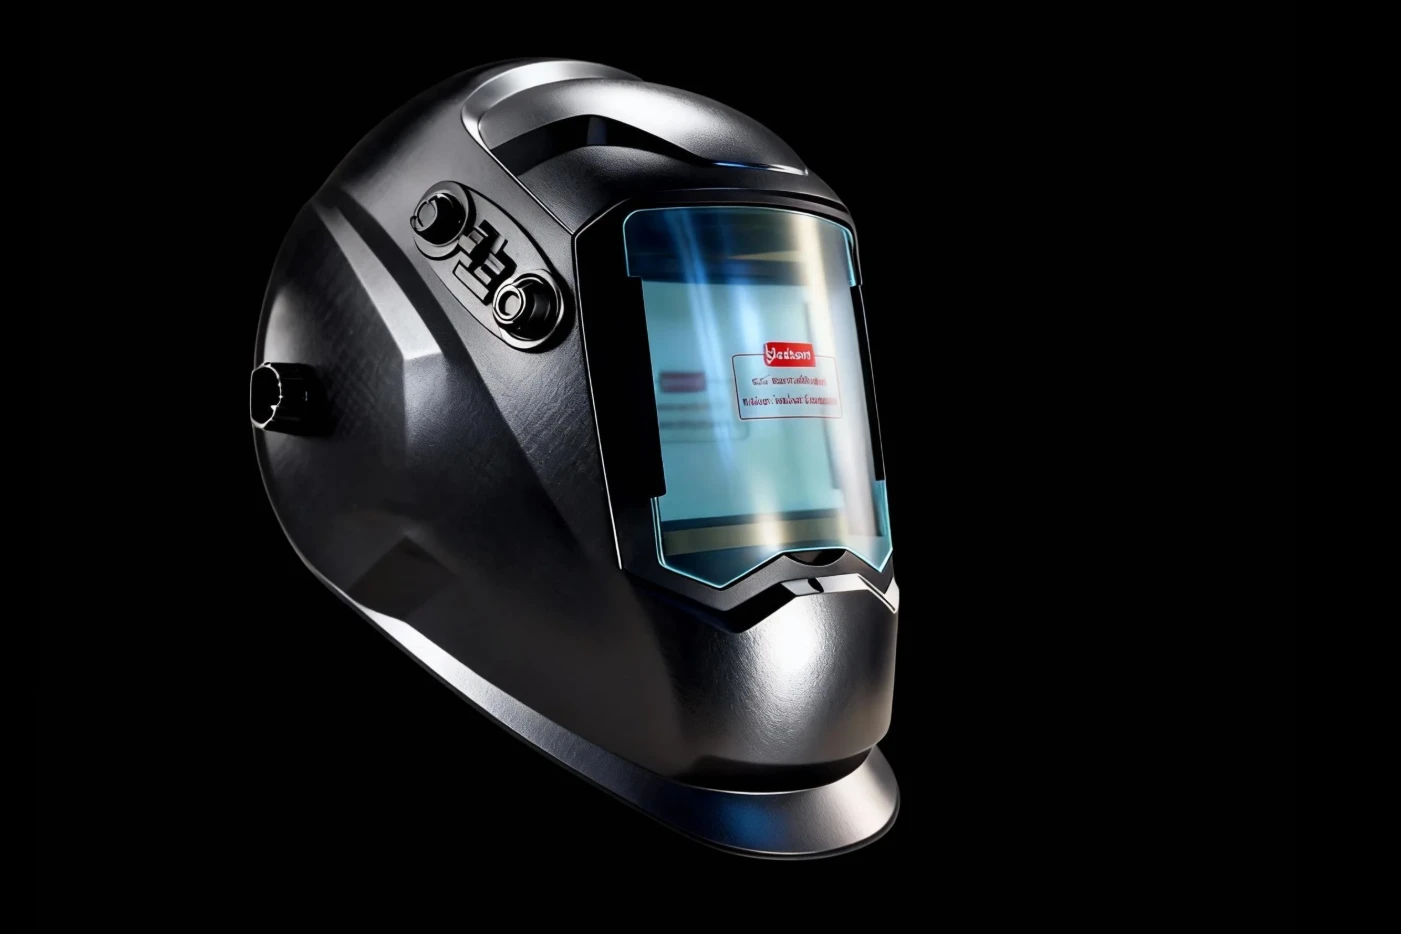
Shield Wings auto-darkening welding helmet — the OEM line covered in this comparison.
Grinding, Inspection, and Delay Settings
Most auto-darkening helmets add a grind mode that holds the lens in the light state, plus a delay control that keeps the lens dark for a moment after the arc stops. Together they remove most of the helmet-up, helmet-down motion that still exists in fabrication work.
Grind mode turns the helmet into a clear face shield for grinding and chipping between welds, so the welder never has to swap headgear. The delay setting holds the dark state after the arc ends, protecting against the afterglow of the molten pool while the welder inspects the bead. In shops where weld, grind, and inspect cycle continuously, these two controls do more for throughput than any other feature on the spec sheet.
Shade Range and Optical Class to Specify
Shade is not fixed per process — it moves with the amperage you run, so read the chart for your current rather than memorising one number per welding type. Look for a helmet whose range covers every process in the shop, plus adjustable sensitivity and delay, and a cartridge meeting EN 379 or ANSI Z87.1 optical requirements.
The American Welding Society’s current shade chart makes the amperage dependency explicit: TIG at under 50 A and TIG at over 150 A are four shade steps apart. The same logic applies to MIG and stick.
| Process | Amperage range | Recommended shade |
|---|---|---|
| Oxy-fuel cutting / torch brazing | Not applicable | 4–6 |
| Plasma cutting | Varies | 9–14 |
| TIG (GTAW) | Under 50 A | 8–10 |
| TIG (GTAW) | 50–150 A | 10–12 |
| TIG (GTAW) | Over 150 A | 12–14 |
| MIG (GMAW) and flux-cored (FCAW) | Under 60 A | 7–10 |
| MIG (GMAW) and flux-cored (FCAW) | 60–160 A | 10–12 |
| Stick (SMAW) | 60–160 A | 10–12 |
| Stick (SMAW) | Over 160 A | 12–14 |
US workplaces have a second, regulatory floor to check. OSHA 1910.252 Table J-1 sets minimum filter shades by operation and electrode size — shade 10 for shielded metal-arc welding with 1/16 to 5/32 inch electrodes, shade 12 for gas-shielded arc welding on ferrous metals in the same electrode range, and shade 14 for shielded metal-arc welding with 5/16 to 3/8 inch electrodes. Where a site operates under OSHA, the minimum in that table governs and the AWS chart is used to pick within it.
On an ADF helmet the shade selector sets the dark level, sensitivity decides how easily the arc triggers the lens, and delay controls how quickly the lens returns to light. On a passive helmet the shade is fixed, so the model must be chosen around the process and current rather than adjusted to them; users who need two levels generally solve it with a flip-front design carrying two separate filters. Whichever you specify, confirm the setting against the applicable standard and your site’s safety procedure — a shade chart is a baseline, not a substitute for the procedure.
Buying in Bulk or Under Your Own Brand
Yes — auto-darkening and passive welding helmets are both available through wholesale and OEM programs, with custom branding, packaging, and model selection. Distributors generally want private-label helmets carrying their own brand and packaging; larger shops tend to standardise one model across every workstation for consistent performance and simpler spares.
Because the production happens in our own factory, lens options, shell colours, and branding can all be configured before the run, approved on a sample, and then scaled. Wholesale pricing is direct, and every batch ships with its lens and optical documentation. Buyers should compare cartridge quality and replacement-part availability rather than first price alone, because a helmet that cannot be re-lensed becomes scrap the moment the cartridge is damaged.
If you are evaluating helmets for a tender or a distributor range, ask for the documentation rather than a claim: the lens specification and optical class of the exact model, the shade range, and the batch records for the sample you are sent. Our engineering team can supply the model specification, the optical documentation, and a sample for approval through the contact page or the OEM & ODM page — see the factory and company profile for how production is set up.
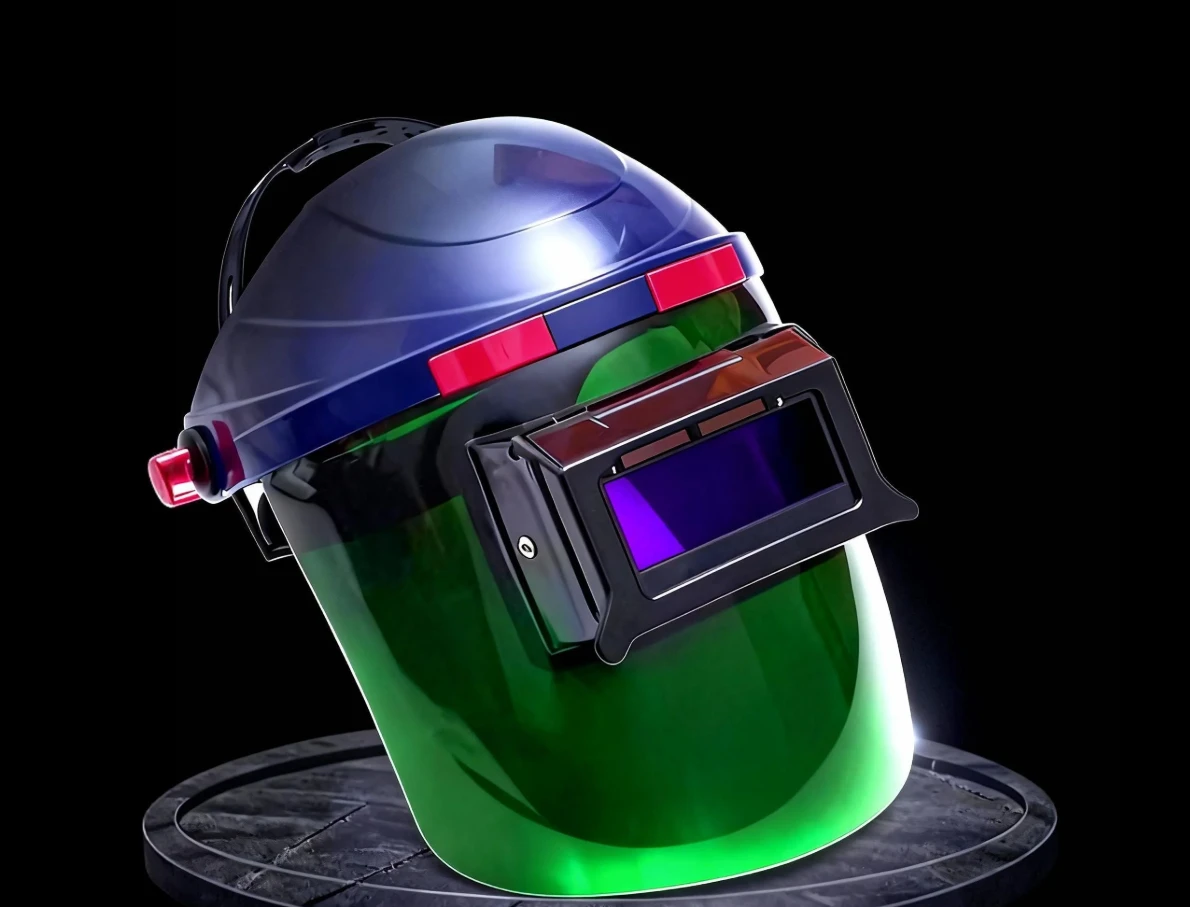
A grind-mode lens lets the helmet stay on through weld, grind, and inspect cycles.
Which Helmet Should You Choose?
Choose auto-darkening for production, for training programmes, and for any welder who works more than an hour a day; choose passive for tight budgets and occasional, simple work. Base the decision on three numbers: hours welded per day, how much weld quality affects your output, and the budget you actually have.
Many shops end up running ADF helmets for their active welders and keeping a few passive helmets for occasional use — that mix usually gives the best return. If you are buying for a team, order samples of both, let the welders run them on real work, and decide on their feedback rather than the spec sheet alone. Wholesale and OEM buyers can discuss models and pricing with our factory team through the contact page or the welding helmet product page.
For the wider topic and related decisions, see our Welding Safety & Welding PPE.
FAQs
Do auto-darkening helmets work in sunlight or outdoors?
Yes, but sensitivity should be adjusted so stray sunlight does not trigger the lens; outdoor work may need a higher sensitivity setting or a passive backup.
Are ADF lenses replaceable?
Yes. Lens cartridges and batteries are replaceable; buy from suppliers who stock parts for the model you choose.
Do I still need a shade setting on a passive helmet?
No — the shade is fixed. Choose the helmet with the shade suitable for your process, or use flip-front designs with two filters.
Can helmets be shared between welders?
They can be adjusted per user, but hygiene and fit favor assigned helmets, especially in training programs.
Related Articles
- Auto-Darkening Welding Helmet Buying Guide: DIN Shades and Lens
- Welding Helmet Standards: EN 379 and ANSI Z87.1
- Eye Protection for Welders: Helmets, Goggles and Filters
- Essential Welding Safety Rules for Beginners
Official Resources
- Auto Darkening Welding Helmet
- Eye Protection For Welders: Helmets, Goggles And Filters
- How Anti Static Fabrics Work: Conductive Fibers Explained
- 10 Common Arc Flash Safety Mistakes On Worksites
- Contact Shield Wings
References
- Welding lens shade chart by process and amperage. American Welding Society, Welding Digest, November 2025. Source of the process/amperage table above.
- 29 CFR 1910.252 — Welding, cutting, and brazing; Table J-1, filter lenses for protection against radiant energy (minimum shade by operation and electrode size). Electronic Code of Federal Regulations.
- ANSI Z87.1 — occupational and educational personal eye and face protection devices. American National Standards Institute.
- EN 379 — automatic welding filters: optical class, switching time, and shade accuracy requirements (standard designation only; full text is not publicly available).